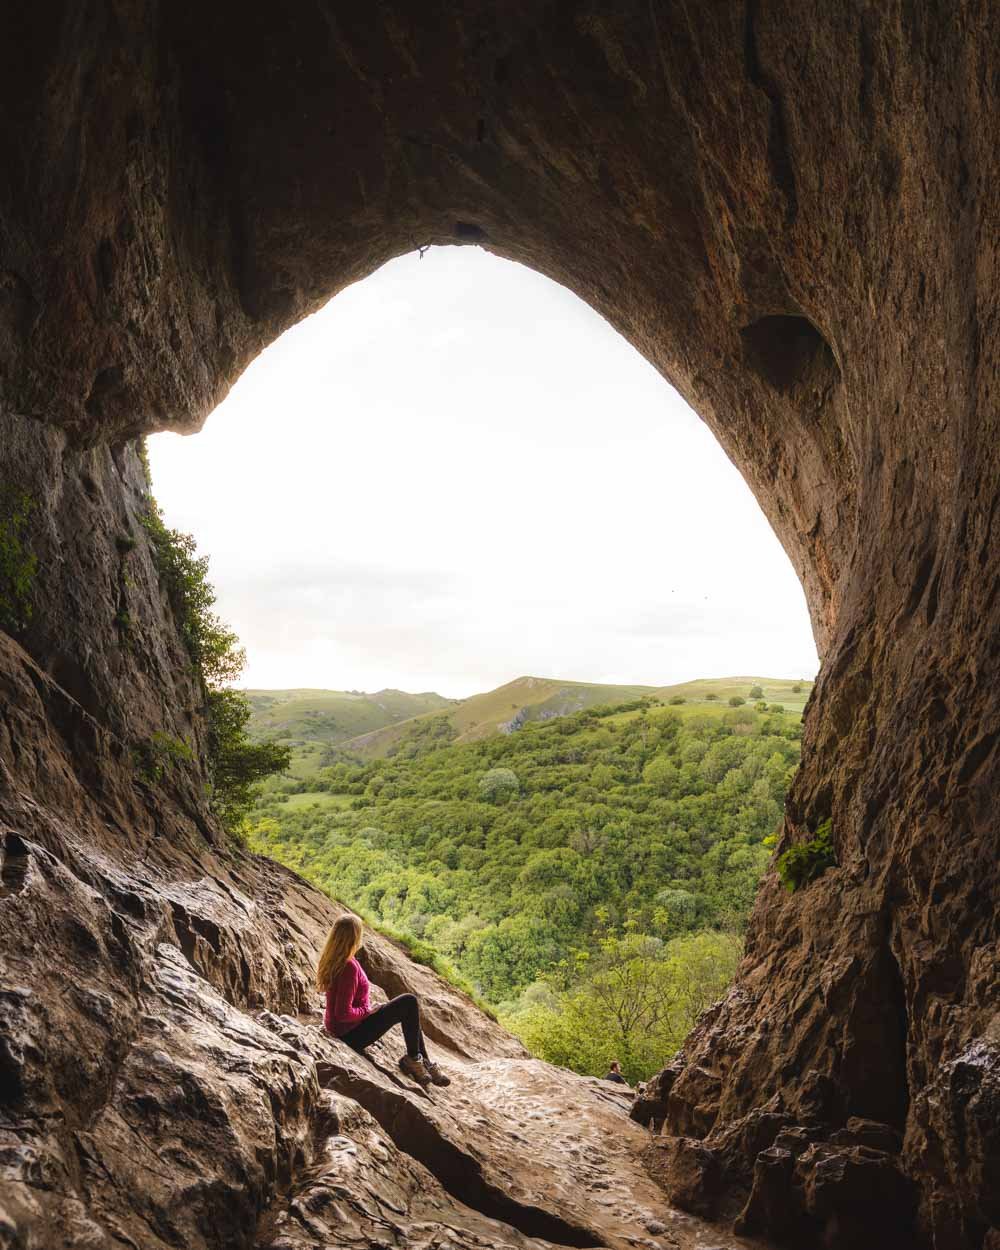
Thor’s Cave is a photographer’s dream. The cave sits high in the cliff side and the large opening perfectly frames the rolling green hills.
As well as being particularly photogenic, Thor’s Cave has been a location in a couple of movies, is on the cover of a Verve album (A Storm in Heaven) and was formerly inhabited by giant deer and even bears! It’s easy to see why it’s such a captivating place to visit.
The cave is really easy to access, which has its downside, namely that it attracts a lot of visitors. However, we have some tips to avoid the crowds.
Here’s everything you need to know about visiting Thor’s Cave.
The walk to Thor’s Cave
First things first: there are two main ways of getting to the cave. The first is a short easy return walk and the second is a five mile circuit.
We had every intention of walking the longer loop until we got stuck in loads of traffic. It left us with just enough time to complete it, but after looking at the map we realised a decent portion of the loop was on road. That along with feeling rushed in the cave didn’t appeal, so we opted for the short walk.
Here’s how to get to Thor’s Cave via the quickest route.
The quickest route to Thor’s Cave
The stats
Distance: 0.75 miles/1.2km each way (extra 200m each way to the lookout above cave)
Elevation gain: 130m
Difficulty: Easy (but not flat)
Starting Point Postcode: DE6 2AF
The walk to the cave is easy. The majority of the walk is flat and then there’s a series of steps to climb at the end. However, accessing and exploring the cave is a little more challenging due to the slippery terrain.
We’ve detailed what to expect on the trail and inside the cave below (with accompanying photos to show you exactly what it’s like).
Starting the trail
The walk begins at the lay by and heads straight through the gate on the left.
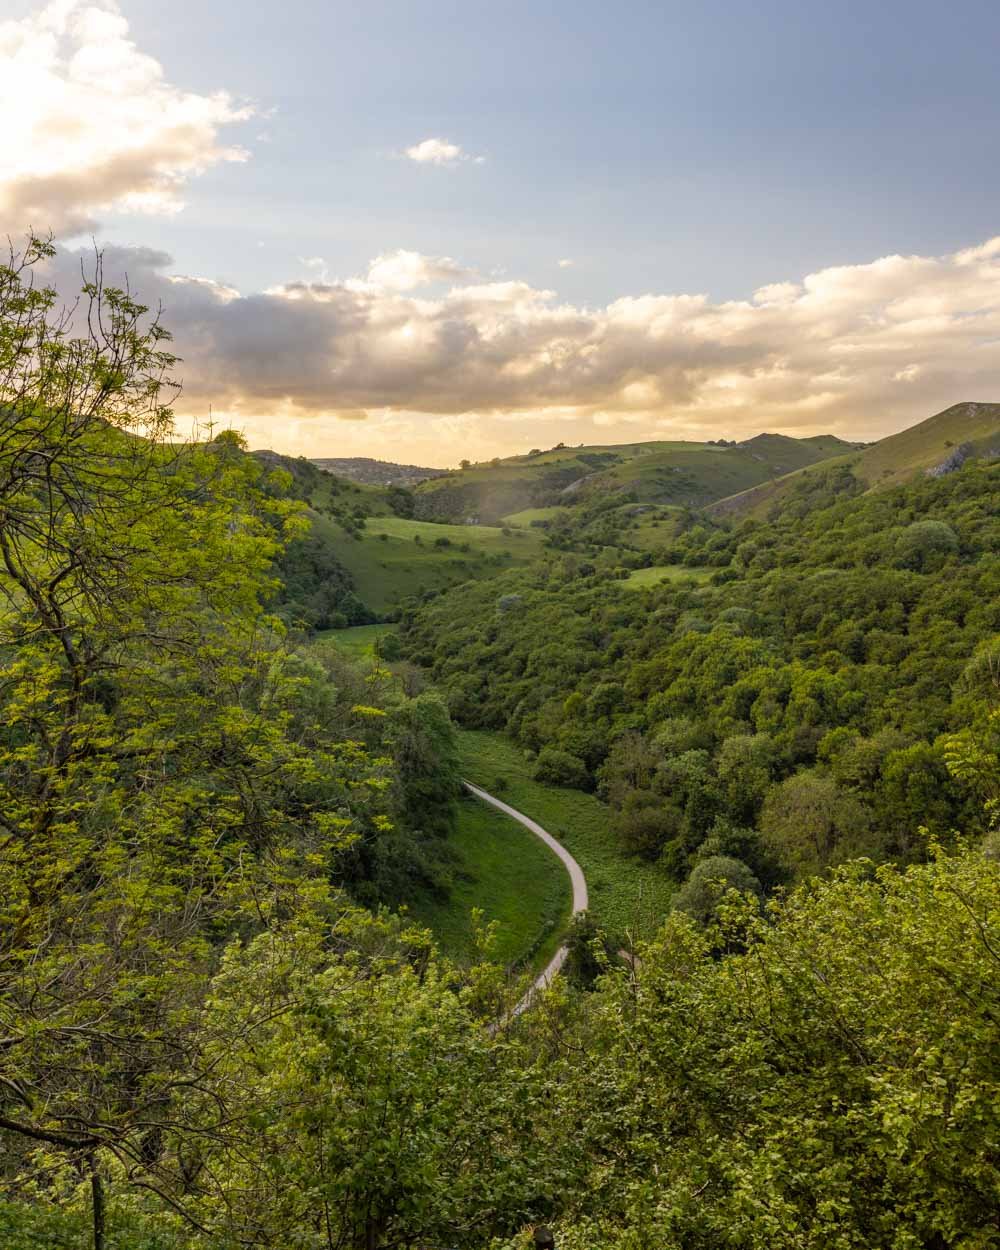
It’s a flat paved trail which quickly gives you some good views out to the high cliffs and definitely gives you the feeling you’re entering cave country.
After a 900m leisurely stroll you’ll get your first view of Thor’s Cave high in the cliff side to the left of the trail. It looks like it’s pretty far away, but in reality you’re now less than 1km from the cave entrance.
After another 400m of flat track, you’ll reach a signpost about the cave and head left, crossing a small bridge.
Climbing up to Thor’s Cave
From here you enter the forest and begin the climb up to the cave. The track conditions change and instead of smooth concrete, you’re now walking on uneven stone steps.
They are ok when dry, but can get very slippery after rain.
After 150m you need to take the turning on the right, continuing up the stairs, and are now just 300m away from the cave. In total, the entrance to the cave is three quarters of a mile (or 1.2km) from the lay by.
The view is gorgeous even from outside the cave, but it looks even better from within.
Exploring Thor’s Cave
Getting up into the cave involves a little bit of a scramble, but if you go up the left side, there are places to put your feet that aren’t slippery.
It takes less than a minute to get into the cave and if you don’t like the idea of exploring further, this spot is still really impressive.
If you want to continue up into the back of the cave then there is one very short slick patch to negotiate. It’s probably only around six steps, but the rock is worn silky smooth, so it’s hard to get grip even with boots on.
Having said that, you can hold onto the cave wall for some stability or get someone to give you a helping hand if you don’t like the look of it.
You don’t need to worry about getting down because you can go on your bum easily enough!
Once you’re over the slippery patch, the rest of the cave was surprisingly easy to explore, and I never once felt like I’d slip.
There’s another narrow opening in the cave which has some rocks you can sit on while you look out and admire the view. You’ll also find some passages to the left.
It doesn’t take long to get round, but it’s a fun place to explore.
You’ll need a torch if you want to explore the left passage in full (which doesn’t take long), the light on your phone is good enough though.
We visited the cave on a dry day, and even though we were in there for ages (and sat down in various places) we didn’t get muddy.
You will get covered in a bit of dirt, but it brushes off. If wet, it would be a different story though, so we don’t recommend wearing anything that you wouldn’t be comfortable getting a bit dirty.
It’s also worth noting that in wet weather, the rocks getting into the cave will be much more slippery.
Heading up on top of Thor’s Cave
The view from inside Thor’s Cave gives you a good taster, but if you want to see the best of it, you need to head up on top of the cave.
There’s a path to the left of the cave opening and it’s just 200m (each way) to the top. It’s quite steep and the ‘track’ is rustic, but it’s well worth the effort.
The dirt track gives way to a grassy path with rocks and footholds worn into the soil to give you some stability on the way up.
When dry, it’s not too bad, but I can imagine it being a slippery mess after heavy rain.
You can climb up to the top of the hill, which has panoramic views, including an atmospheric old church and endless rolling green hills.
However, my favourite spot was just below the top of the hill where there is a rocky outcrop, the perfect place to sit and take in the scene.
It’s a stunning place to watch the sunset and we got incredibly lucky with absolutely beautiful golden light. It is very exposed though, so if it’s a windy day, you’re going to feel the full brunt of it.
If that’s the case, stay in the shelter of the cave until the last minute, and head up very close to sunset itself.
The best time to visit Thor’s Cave
Thor’s Cave is one of the most impressive caves you can visit in the Peak District for free, and added to that, it’s incredibly photogenic. This has made it wildly popular and it can get very crowded inside. For this reason, if you can avoid weekends and school holidays, you are going to be better off. Even midweek it’s worth coming early or late in the day.
We visited on a Friday night in summer and several groups came through. However, by the time sunset came around, the cave had emptied, so a bit of patience can really pay off. The groups we saw didn’t hang around too long either, so you may be able to get gaps without anyone else around.
Other things to consider are the weather conditions. Ideally you want a clear or clearish day. The cave is cool in and of itself, but it’s that opening with the view that really makes it special. You don’t want a foggy day when you’ll see nothing.
The cave provides shelter from the elements, so it’s fine to visit on a windy day, but if it’s wet it will be more slippery. Some people won’t mind, but if you don’t like slippery tracks it’s best saved for a dry day.
How to get “the photo”
Another reason to visit Thor’s Cave early or late is for the light to get “that” photo. In the middle of the day (or when it’s really bright and sunny), most cameras struggle to balance the darkness in the cave with the bright light outside. This result is either a bright white cave opening, or the person/cave in shadow,
The best way to counter this is to bring a tripod, and visit when the light is at it’s softest - which tends to be about an hour either side of sunrise and sunset in the summer, and half an hour either side of sunrise and sunset in the winter.
We also recommend the photographer going quite far back into the cave, and zooming in on the subject near the cave entrance. This “compresses” the background, making the hills look taller and closer, bringing scale to the photo.
Getting to Thor’s Cave
The walk to Thor’s Cave begins near the village of Wetton. The start for shorter and longer tracks are very close to each other. For the shortest version as described above, you want to park in the lay by off Leek Road - DE6 2AF (the exact co-ordinates are 53.0982579, -1.8544843 or you can find it Google Maps by clicking here).
There is room for several cars, but if it is full you can find more space 550m down the road at another lay by just beside the junction for Wetton Mill off Leek Road. It’s a quiet country lane and flat, so it’s easy to walk a little further if you need to. This lay by is also the starting point for the 5 mile loop walk.
At both places parking is free and time is unlimited. Although there was plenty of parking when we visited, it could well fill up at busy times of day and you might have to park further away, which is another reason it’s worth coming early or late.
This post may contain affiliate links, meaning at no additional cost to you, that we will earn a small commission if you click through and decide to make a purchase. This helps towards the costs of running our website. Thanks for your support.


