We recently visited Spellbound Cave and decided it was the mostly aptly named attraction in New Zealand. The exact opposite is true for Cesspool Gorge. I’ve no idea how it got its name, but maybe it was meant to sound as unappealing as possible to keep the crowds away. If that’s the case then it worked!
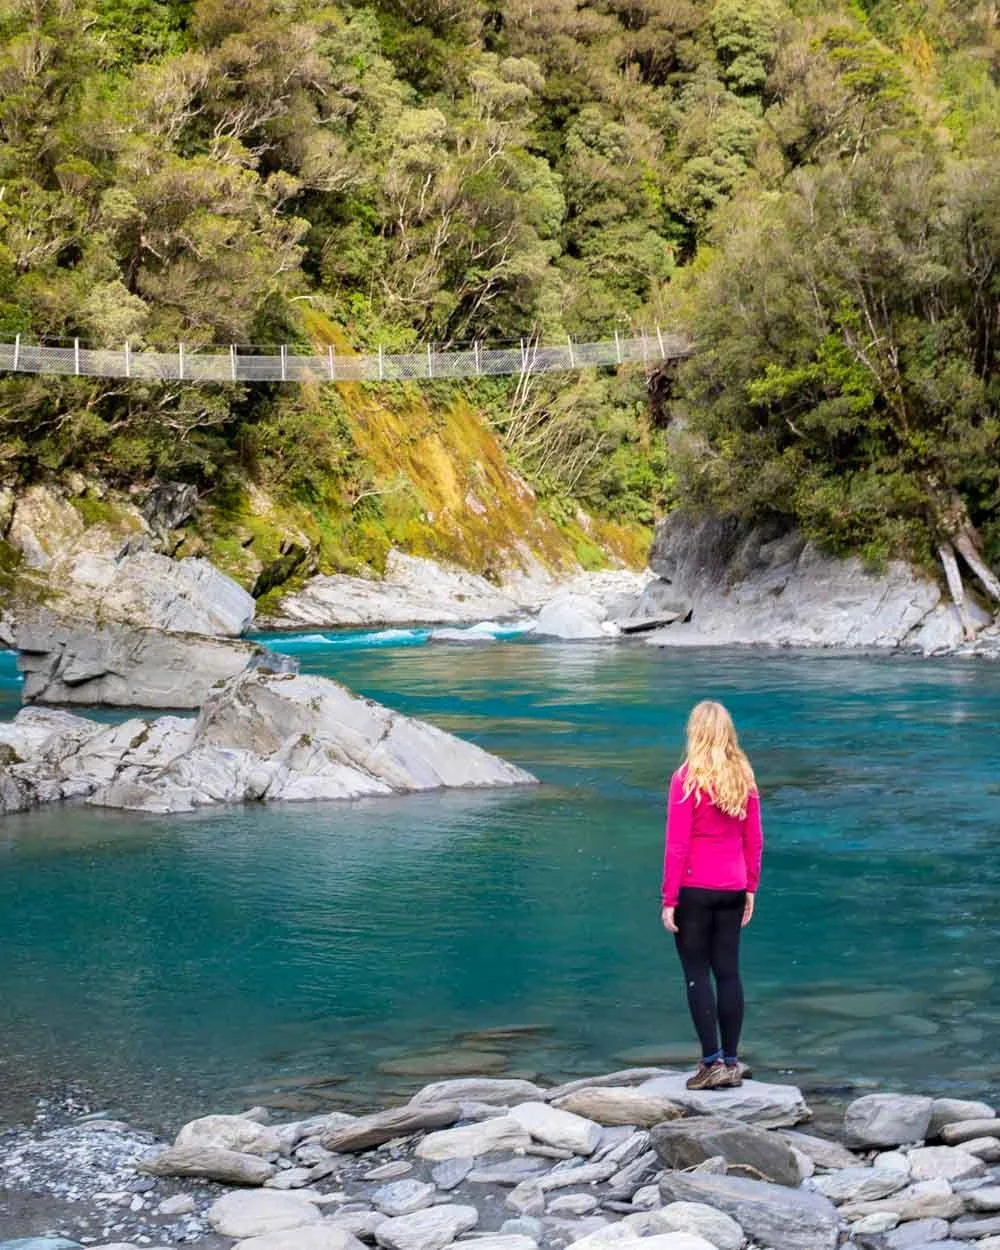
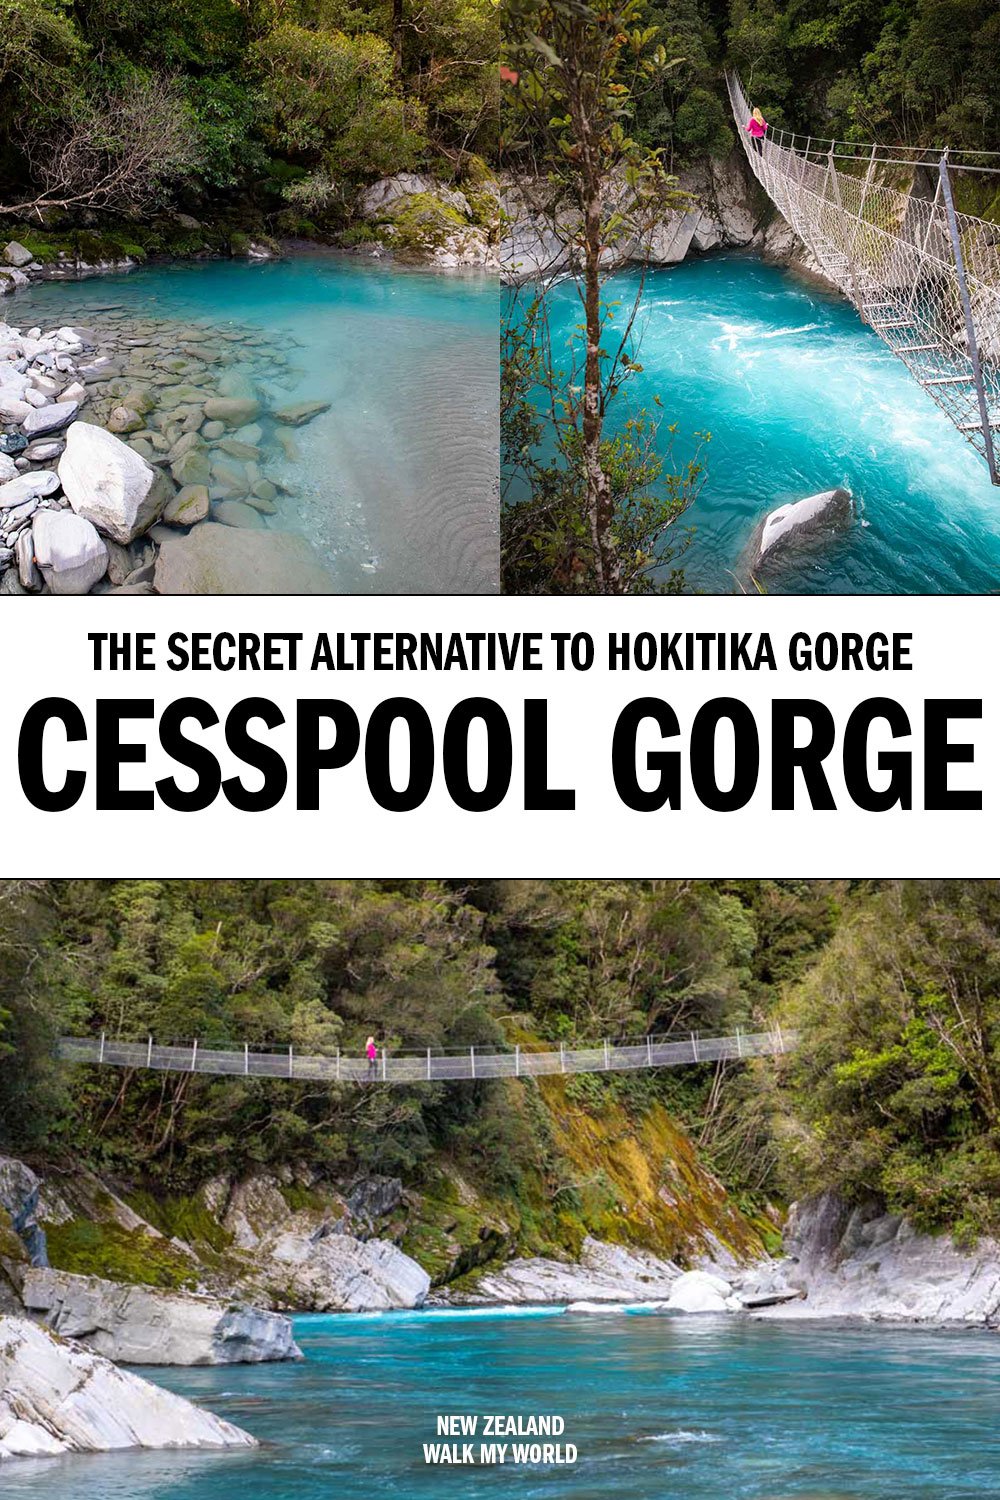
We didn’t see another soul at the gorge, which is truly unbelievable given how absolutely spectacular it is. The water is the most exquisite blue and there’s both an amazing swing bridge and safe swimming hole from which to admire it.
The walk to get there could be in better shape but the trail is not difficult. We’ll go in to all the details on exactly what to expect from the track and the gorge in this guide.
Cesspool Gorge
The stats
Distance: 7.2km return
Elevation gained: 140m
Difficulty: Easy
The walk to Cesspool Gorge is relatively easy and doesn’t involve much in the way of climbing. It is however fairly rustic and can get heavily waterlogged.
You’ll have to make a stream crossing which might be possible to rock hop in drier conditions, but for us it was a boots off/flooded boots situation. It’s not fast water or anything though, so you’re only real risk is getting wet.
The whole walk took us just under 2 hours return at a leisurely pace.
Starting the trail
The first part of the track is shared with the West Coast Wilderness Trail which is a multi day cycle ride. For this reason, the first kilometre is on a gravel track which is both flat and in perfect shape. It’s a very leisurely start to the walk.
The scenery is also gorgeous with mountains and a stunning electric blue river.
After 1km you’ll come to a junction and this is where the section of track which can only be accessed on foot begins. it’s signposted and you continue straight on, slightly uphill before the trail flattens again.
It’s now a rougher track but still easy - it’s like a rutted 4WD road. There are small sections of mud but they can be navigated around.
To the creek crossings
You’ll continue following the picturesque river for another 800m before the path very briefly takes you into the bush. You’ll see the orange markers to your left.
It’s only a few minutes before you’re out in the open again and can either follow the 4WD track to the left or cut straight over the stream ahead of you, we tried both options and there’s only a couple of minutes in it, so it’s no big deal which route you opt for.
After that there is a little more uphill walking and another small, easy stream crossing before the track starts descending on a wide stony path.
Streams cross the path and cause water to flood down part of it, but nothing major and you don’t need to walk in the water. Once you’ve been walking for 2.3km (and 1.3km on the dedicated walking track) you’ll reach the bigger stream crossing.
There are plenty of rocks in the river water and it’s possible that ordinarily you could use them as stepping stones to cross without getting wet. If the water has submerged the rocks then head right to find the shallower points to cross. I did flood my boots but it was still easy to cross, just a bit squelchy from that point on!
The final stretch to the gorge
The stream crossing itself is not signposted but it’s obvious when you get to it. Once you’re on the other side, head left and you’ll see the rocky road ascending ahead of you.
You’ll also pick up the orange markers again. From here there is a very short climb and then the trail completely flattens.
For us this next section has some seriously waterlogged areas. More like ponds than trail. It could have been that we’d had a lot of rain, but as this is the West Coast my guess is that it’s frequently like this!
Sometimes there are little gravel paths in the bush to manoeuvre around them but otherwise you can just cruise on through.
If you’ve already soaked your boots on the stream crossing you won’t really care but otherwise you might want to stick as close to the edges as you can! The forest is very pretty though and it’s definitely worth the effort when you get there!
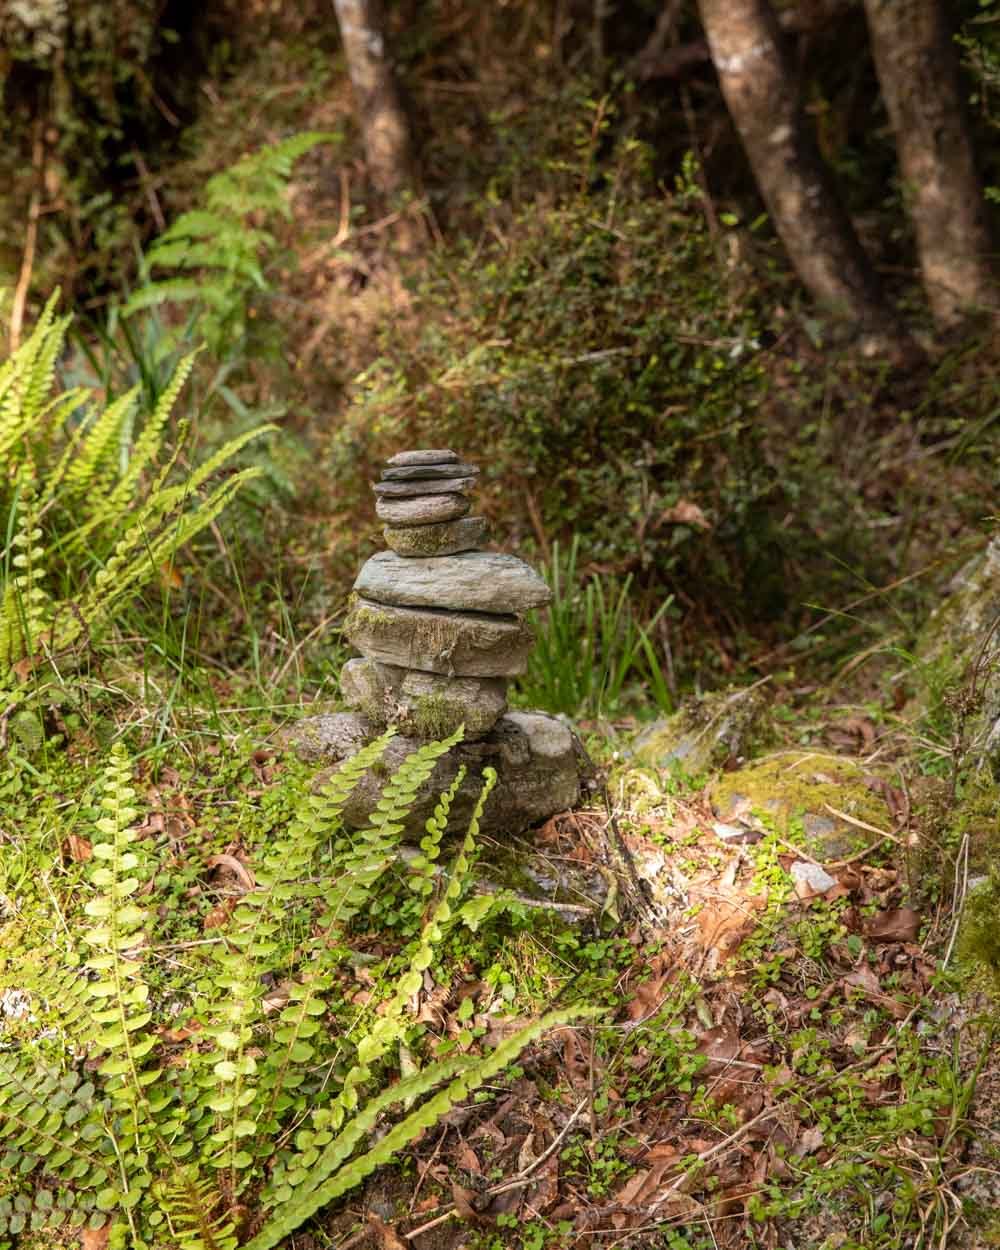
Roughly 1.1k after crossing the stream you’ll start heading downhill on the now dry path and see a little turning on the left, there’s also a signpost about this being whio habitat (we sadly didn’t see any!) and a cairn.
This is 3.5km from the car park.
Arriving at Cesspool Gorge swimming hole
From the whio signpost/cairn you can either carry on to the waters edge or head up to the swing bridge. The waters edge is just 100m further on, heading away from the turning, along the main path.
You’ll walk under a little tree arch which I assume happened after a slip and then out onto the rocks. The water will take your breath away, it’s just beautiful and the whole scene is mesmerising.
The safe swimming hole is to the left, you’ll see that it’s away from the main current of the river and perfectly still.
It’s not massive but it’s an excellent plunge pool and the water is crystal clear. It’s a great spot to cool off without running into any issues with the current.
Just watch out for the sandflies which are pretty ruthless around here and will go after any unprotected skin!
To the swing bridge
To get up to the swing bridge head back to the whio sign and follow the path into the bush. It’s very obvious but also marked by a cairn if there was any doubt. The trail is rocky and a little wet but easy enough. You are then just 90m from the bridge.
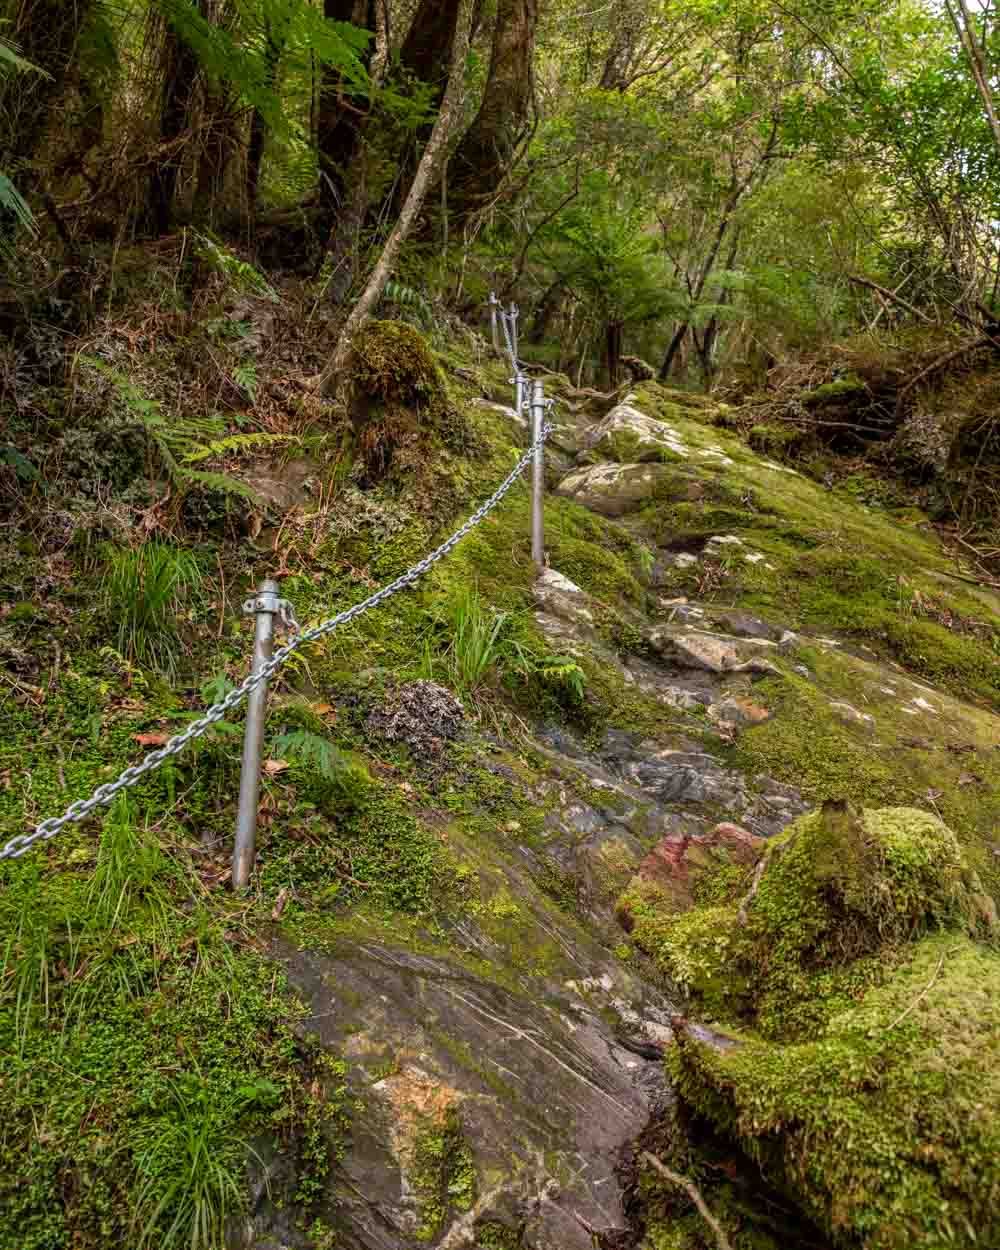
The last part is uphill on a rocky trail where a fixed chain (more like a handrail) is installed to help you. It’s a little slippery but not too bad and the chain gives you that added feeling of security. I didn’t need it on the way up, but was happy to have it on the way down!
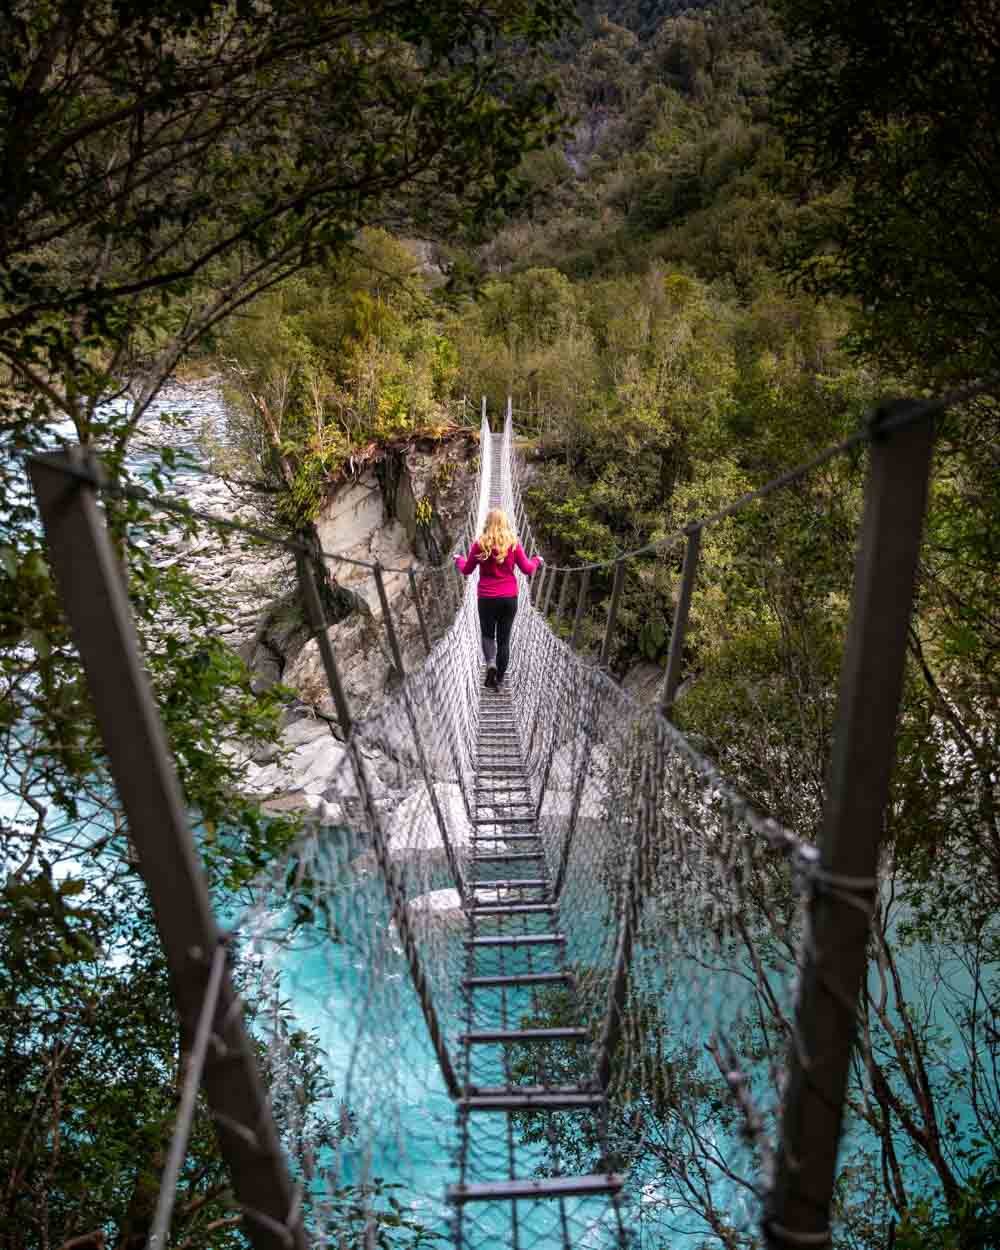
You’ll then be standing at the foot of the Cesspool Gorge swing bridge. It’s one of those max 1 person at a time bridges and fair to say the most wobbly one we’ve been on in NZ so far.
I found that if I didn’t hold on with at least one hand in the middle section, the sway was so massive that I lost balance - which was interesting as I wasn’t expecting it and was trying to film the crossing!
It’s a lot of fun though, especially looking down into that incredible water. The fact that you can see down into the rapids through the bridge really gives you that feeling of being alive!
We didn’t explore the track on the other side of the bridge as time was against us, but we heard there isn’t much to see for a little while.
The sandflies are ruthless at the bridge too so definitely bring some spray with you!
All in all, the fun nature of the bridge, the water colour and general gorge scenery really blew me away. It’s truly breathtaking and the fact we got it to ourselves made it all the more special.
I loved it and am so glad we weren’t deterred by the waterlogged path! The gorge is wider than Hokitika Gorge but for me it was equally beautiful.
Getting to Cesspool Gorge
The closest town to Cesspool Gorge is Hokitika, a 29km drive away. The last 10km is gravel road, but it’s in excellent condition and any car can make it (at time of writing).
You won’t see the gorge signposted but you park at the area where the bike track sign is, to the left of the gate.
You can find the trailhead to Cesspool Gorge using these co-ordinates: -42.8258377, 171.2362066.
This post may contain affiliate links, meaning at no additional cost to you, that we will earn a small commission if you click through and decide to make a purchase. This helps towards the costs of running our website. Thanks for your support!


