If you’re looking for a warm up hike to prepare for some of the bigger domes in Yosemite then Lembert Dome is the perfect choice.
There are a couple of ways you can approach it, straight up the dome and back or a longer circular route which also takes in the pretty and peaceful Dog Lake. We chose the longer route as we wanted to see more of the meadows and if you have time we’d definitely recommend making it a circuit.
Here’s everything you need to know about hiking the Tuolumne Meadows’ Lembert Dome.
The start of the Lembert Dome hike
The Lembert Dome hike
Lembert Dome hike stats
Difficulty: Moderate
Distance: 5 miles (8km)
Elevation: 1,000 ft (300m)
Type of trail: Loop
Time taken: 2 hours
The Lembert Dome walk is a moderately difficult walk that you should be able to do in 2 hours. The trail has a some elevation, but it isn’t one of the hardest trails in the park.
The trickiest part is getting to the summit of Lembert Dome as the trail isn’t obvious and can be get slippery. We don’t recommend doing this hike when it’s raining or windy.
The start of the Lembert Dome hike
From the Lembert Dome car park you quickly make your way into the forest on a gradual uphill climb. It’s a good path and the gradient is quite forgiving at first, before becoming a little steeper later on. We hiked on a hot day and the forest provided some good cover for much of the way.
The river was dried up when we visited but in spring and summer you would be walking near it for some of the way which would make a nice addition.
As the hike gets steeper you start to see the top of Lembert Dome through the trees and it feels gratifyingly closer!
Read next: Clouds Rest hike - for some of the best views in Yosemite
The side trail to Dog Lake
At just 0.3 miles (each way) from the main trail we’d highly recommend making the little detour to Dog Lake. It is uphill but it’s short and gentle and it will be just minutes before you arrive at the water’s edge.
The lake is vast and it’s a beautiful and peaceful spot to go for a paddle or have a picnic.
Lembert Dome hike - Dog Lake
The mountain backdrop makes for the kind of view you can find yourself staring at for a whole afternoon. Virtually no one seemed to be at this lake and given the car park for the dome was busy we could hardly believe our luck.
It was actually a tough spot to drag ourselves away from!
Read next: The truth about the Half Dome Hike - what people don’t tell you
The final push to the top of Lembert Dome
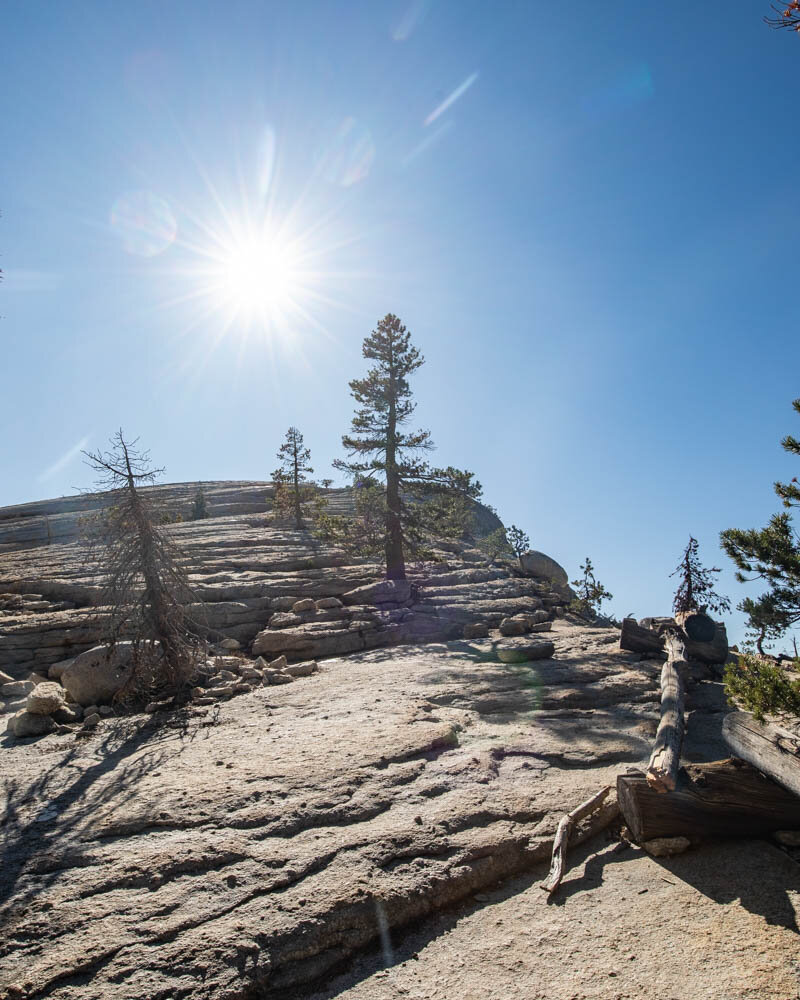
After leaving Dog Lake you rejoin the main trail for the final climb to the top of Lembert Dome. It doesn’t take too long before you hit the start of the granite and the summit is in sight.
The granite is very grippy when dry and the beginning of the ascent is gradual and easy.
The final part of the hike to the top of Lembert Dome
There is no set route so you can just pick the path that feels easiest to you. As you get just below the summit it is a little more of a scramble and slightly more challenging.
We climbed straight up a couple of steep gullies before being told there was an easiest way further to the side of the dome.
The scrambling route to the top of Lembert Dome
You can either go straight up like we did or spend a bit of time looking for a gentler option. If the rock was wet I would not have felt comfortable going straight up the gullies.
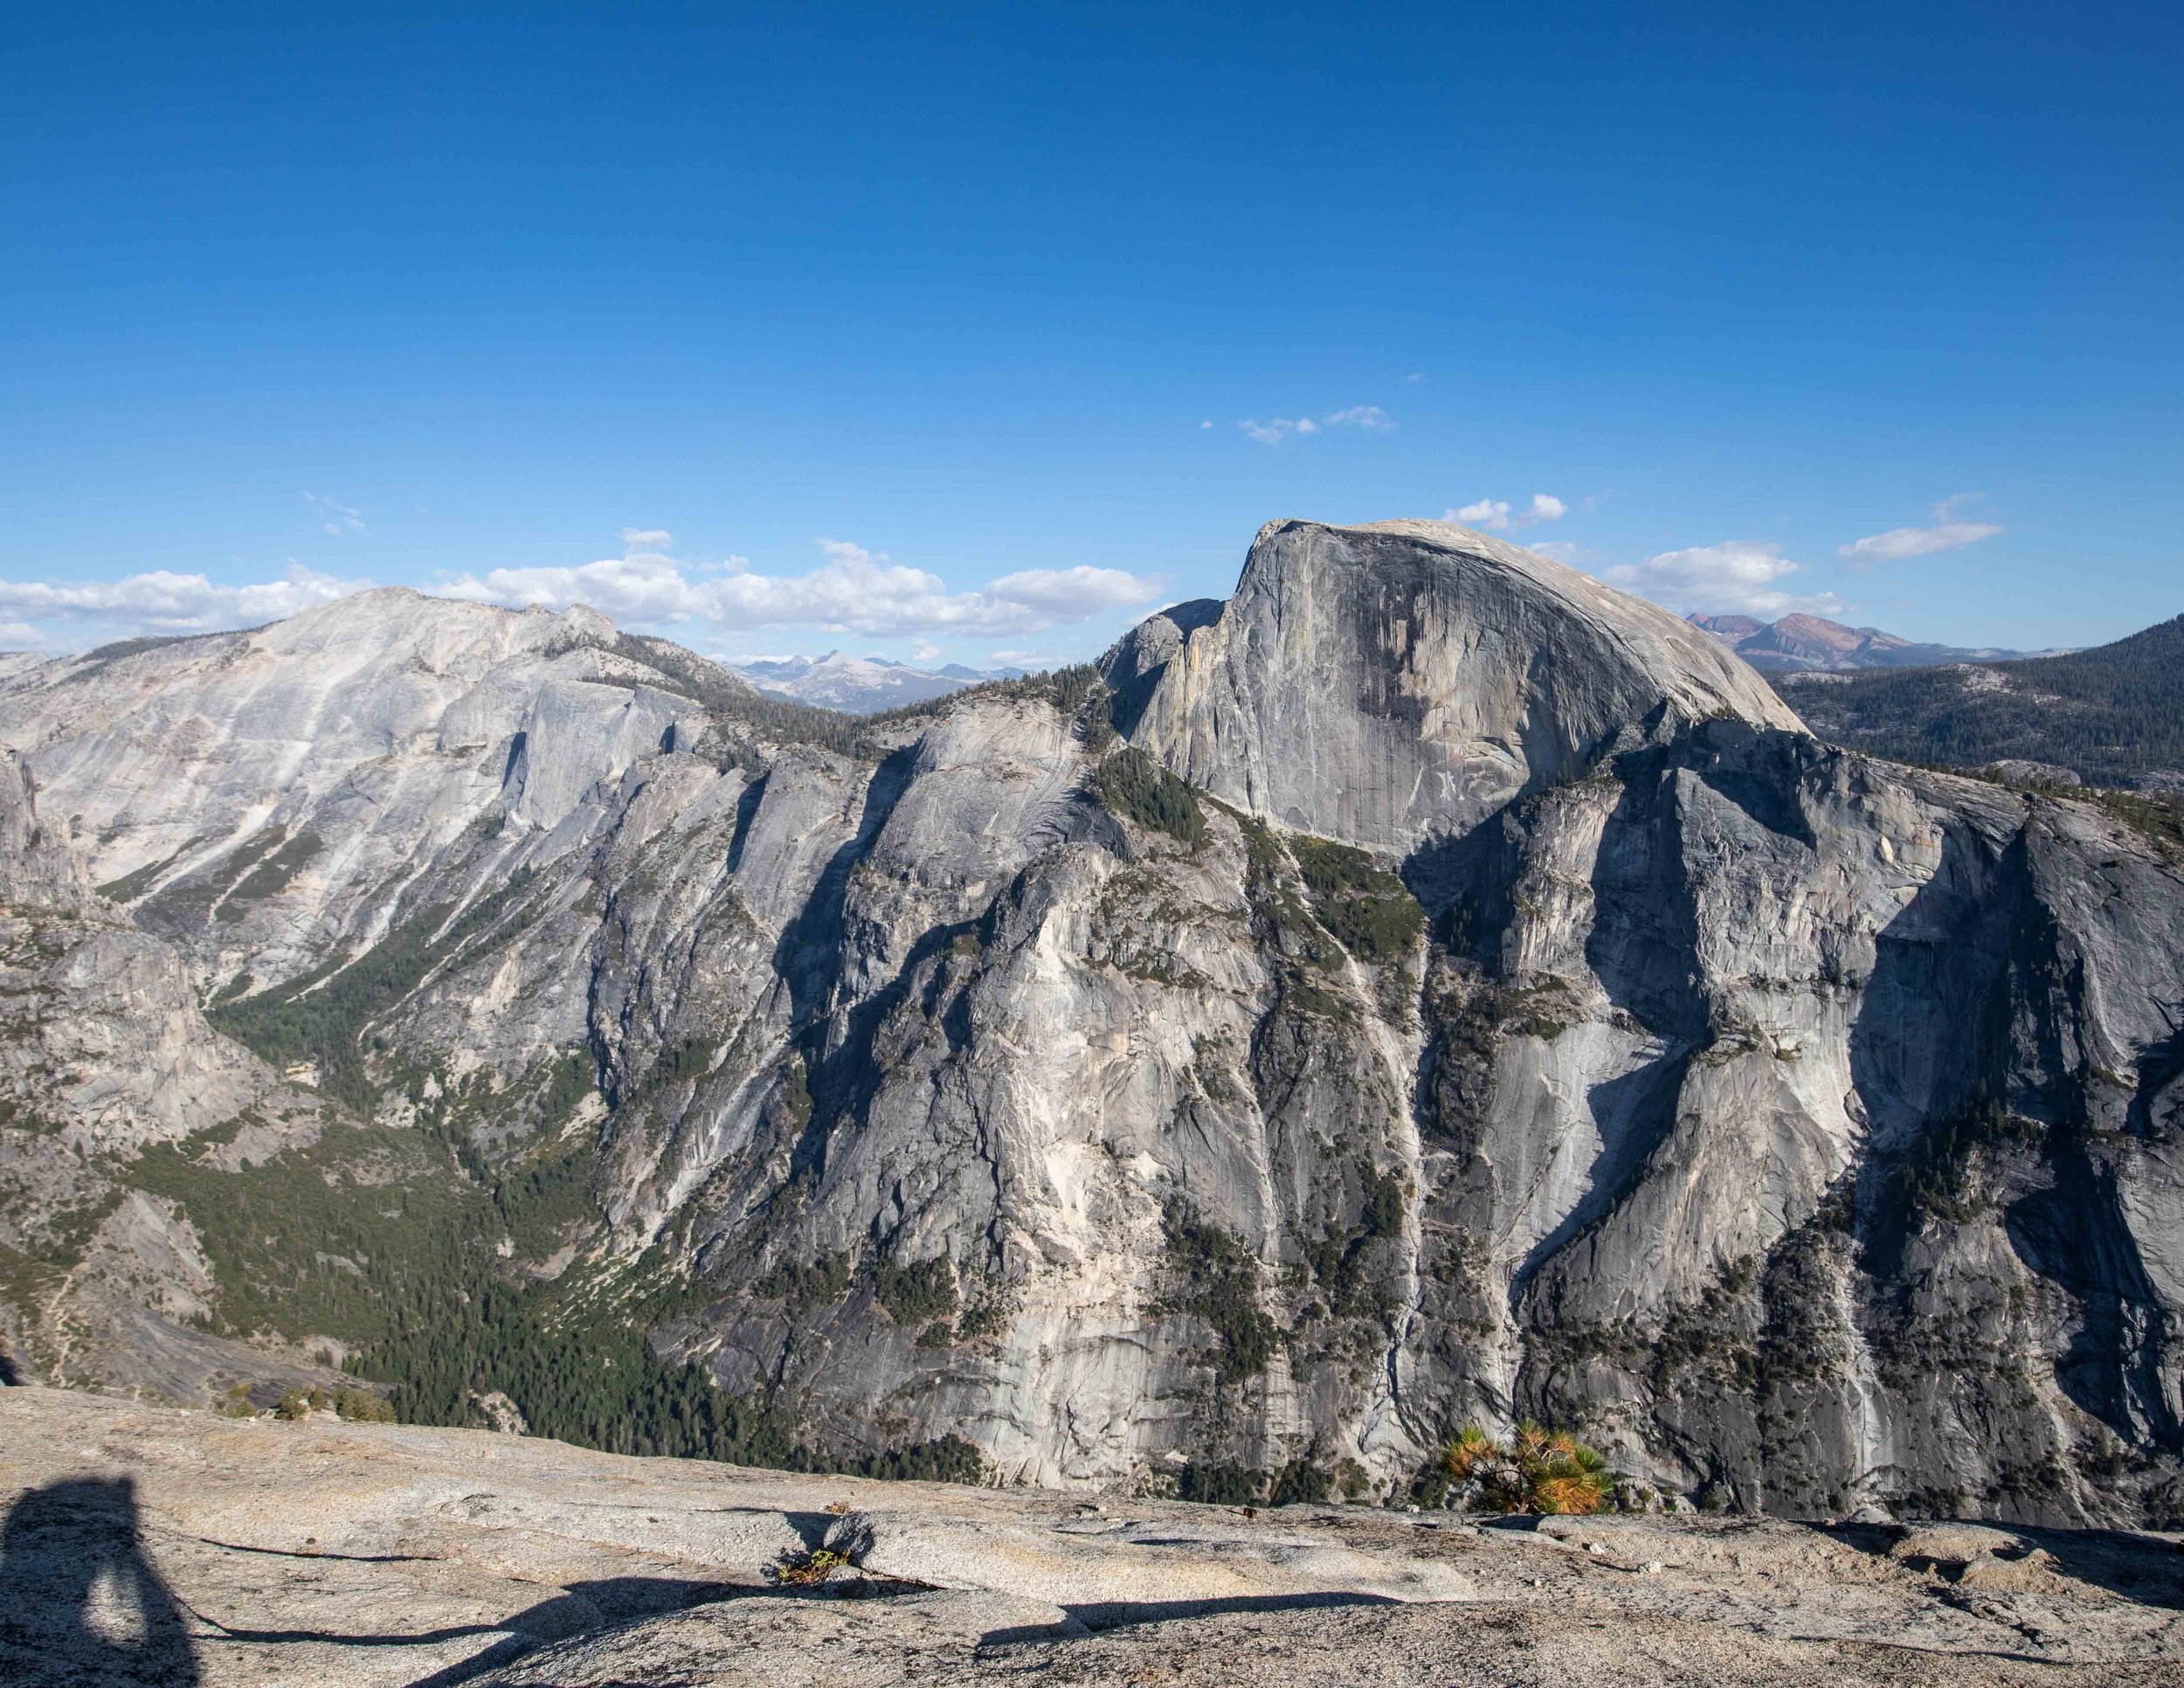
Once you reach the top you’ll see how huge the dome actually is and there is tons of space to sit and relax before exploring the top - which could actually take a while depending on how far you want to go. The views of the meadows are great and it would make a wonderful sunset spot if you get the chance.
Lembert Dome hike: The views from the top
Lembert Dome Hike: Tuolomne Meadows
The way down is fairly easy going, again pick your preferred route and take your time if any bits feel a bit exposed.
Read next: 16 mistakes you will want to avoid in Yosemite National Park
Completing the Lembert Dome loop
You return to the main trail and immediately begin heading downhill. You’ll soon reach some sign posts, don’t take the one marked for the Lembert Dome car park but for Dog Lake - otherwise you will be on a much longer trail and miss the rest of the loop.
The trail down is in great condition on gentle switchbacks and you reach the Dog Lake car park in no time. From there cross the car park and follow the trail running alongside the lefthand side of the road. It’s flat and easy and will take you away from the road and through the meadow before you arrive back at Lembert Dome car park.
The whole trail is really quiet and it makes for a nice scenery change to see the meadows.
Lembert Dome Hike: the trail back through the meadow
Packing suggestions for Lembert Dome
Having the right gear can make a huge difference. Here’s what we pack and have relied upon for years:
Sunscreen: Lembert Dome has very little shade and the sun is brutal most of the year! Check for sunscreen on Amazon or REI
Day Pack: Osprey Talon 22 (we’ve owned this for years). Check on Amazon, REI or direct with Osprey
Hiking Boots: Merrell Moab (for men and women). We’ve both used these for over three years and they just keep going. Check them out on REI or Amazon
Trekking poles: We’ve used Black Diamond for years as they are light, solid and durable. Check out REI or Amazon.
Reusable water bottle: To avoid single-use plastic. Check then out on REI or Amazon
Icebreaker Base Layer: What we always wear in the winter and makes a huge difference for keeping warm. Check out on REI or Amazon
Essential info about the Lembert Dome hike
The shortest trail to Lembert Dome
If you just want to get to the summit and want the quickest route possible, you need to park at the Dog Lake car park. This trail will take you straight into the forest on switchbacks and up to the dome in less than a mile. You then return on the same route. This could be a good option if you are heading up for sunset and want to make a quick exit as you lose the light.
Read next: Sentinel Dome - Yosemite’s best kept secret
Lembert Dome difficulty
Overall Lembert Dome is not a difficult hike although it does have some steep uphill sections. However this relates only to hiking in dry weather, I personally wouldn’t hike this trail in wet conditions when the granite can become slippery.
To get to the summit does require a little scramble, most people will not find it too difficult but if you aren’t used to scrambling it could be a little unnerving.
Read next: North Dome hike - one of Yosemite’s quietest trails
Best time to hike Lembert Dome
Lembert Dome is off the Tioga Pass Road which closes each year due to snow generally between late October and early November and mid to late May but dates vary year to year. Most people hike this trail in summer and fall, be prepared for possible snow and ice on the trail at the beginning and end of the season.
Bear safety on the Lembert Dome hike
There is a black bear population which live in the Lembert Dome area. They have been known to go after the food in people’s cars and cause significant damage. Store any food in the bear boxes provided in the car park.
If you see a bear on the trail stay calm and talk to it in a low voice. It’s extremely rare for them to bother you and most likely they will scamper off when they see you.
Bear spray is banned in Yosemite National Park.
How to get to Lembert Dome
Lembert Dome is on the Tioga Pass road and about 1.5 hours away from the Yosemite Valley floor - it’s basically on the far eastern side of the park. It has its own dedicated parking lot.
Yosemite National Park entrance fee
You can use the America the Beautiful Annual National Parks Pass to get into Yosemite (US80 per annum). Otherwise it will cost $35 for entry with a car, $30 for a motorbike or $20 per person on foot or bike for 7 days.
As the National Parks Pass is $80 for the year, it is well worth it if you plan on visiting more than three national parks in a year.
Where to stay in Yosemite
If you possibly can staying in the park is best. If you’re thinking about camping read this guide first.
This post may contain affiliate links, meaning at no additional cost to you, that we will earn a small commission if you click through and decide to make a purchase. This helps towards the costs of running our website. :-)
Like it? Pin it!
Follow us on social media
Are you planning a trip to Yosemite? Would you take on the Lembert Dome hike? Let us know in the comments below!


